Users will likely encounter this issue due to insufficient disk space on their system. Other reasons for facing this error can be problematic third-party antivirus and outdated BIOS firmware. There are various troubleshooting steps that you can follow to fix Windows 11 Error 0xc1900101; read ahead to know more.
Best Ways to Fix Windows 11 Error 0xc1900101
If you cannot upgrade to Windows 11 or install the latest update using installation assistant due to Error 0xc1900101, there is nothing to worry about. We have listed various ways to fix Windows 11 Error 0xc1900101 below-
Best Ways to Fix Windows 11 Error 0xc19001011. Clear Up Disk2. Run Windows Update Troubleshooter3. Uninstall Recently Installed App4. Run SFC Scan5. Perform Clean Boot6. Reset your PCConclusion
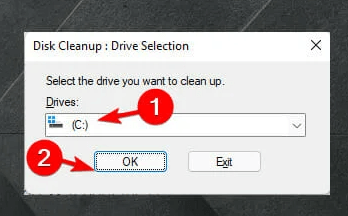
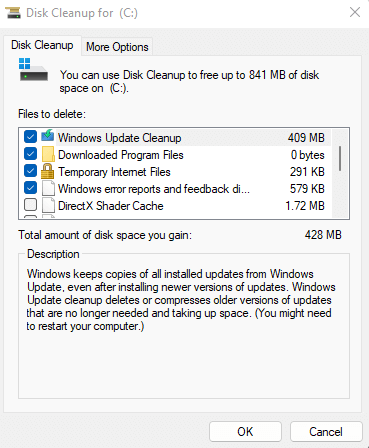
1. Clear Up Disk
You should first clear up the disk to fix 0xc1900101 error on Windows 11. You will face this issue due to less space/storage. This issue can issue be fixed by clearing the disk of unwanted files. The steps for the same are as follow-
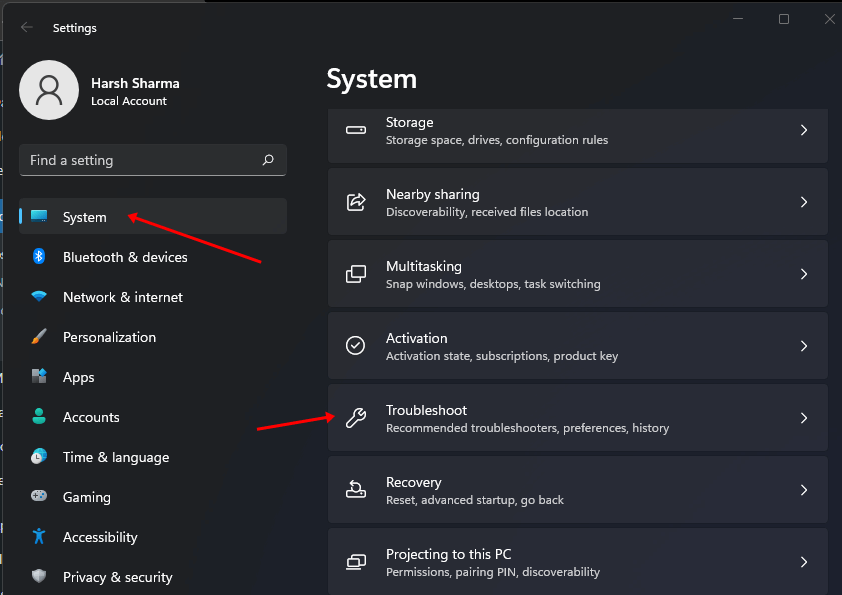
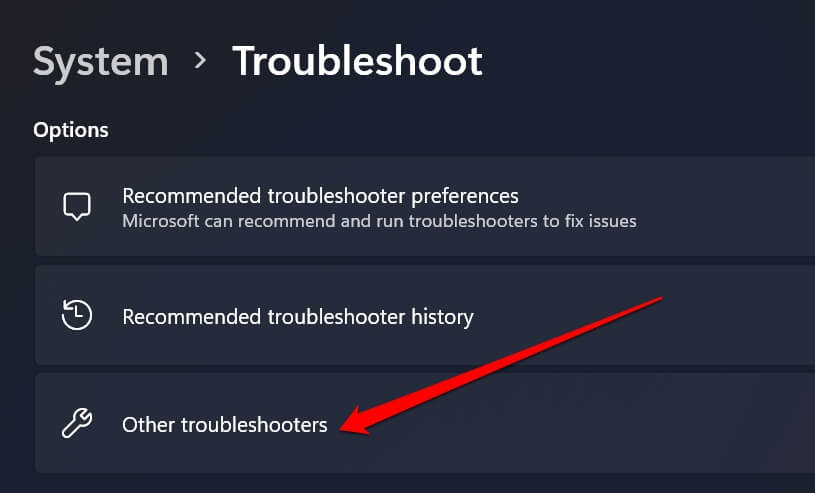
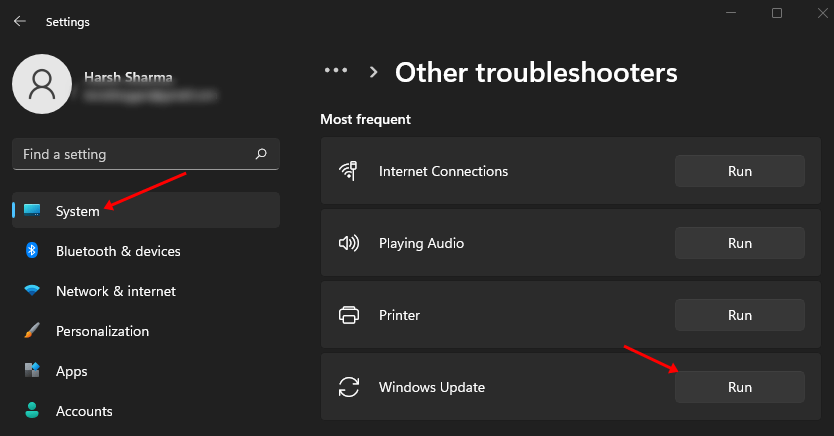
2. Run Windows Update Troubleshooter
If you cannot update Windows using the installation assistant, you should try running the Windows Update Troubleshooter. To run the Windows Update troubleshooter, follow the steps given below-
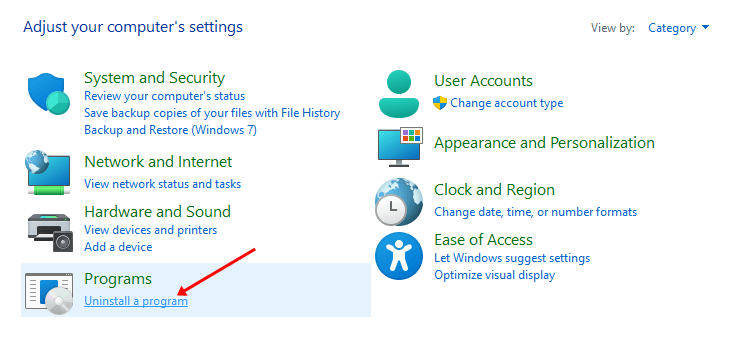
3. Uninstall Recently Installed App
Another method to fix the 0xc1900101 error on Windows 11 is to remove the recently installed application. If you started facing this issue after installing a program, you should try uninstalling it. You will be able to uninstall recently installed applications. The steps for the same are as follows-
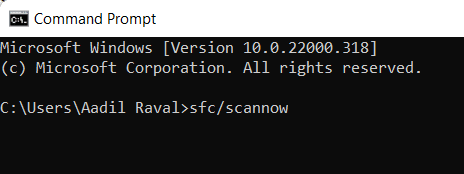
4. Run SFC Scan
The possible reason for facing the 0xc1900101 error on Windows 11 can be corrupted files in the system. The error can be fixed by running the SFC scan on your device. You can run the SFC Scan on your PC by following the steps given below-
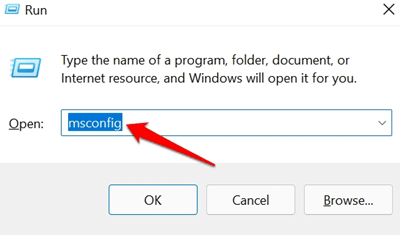
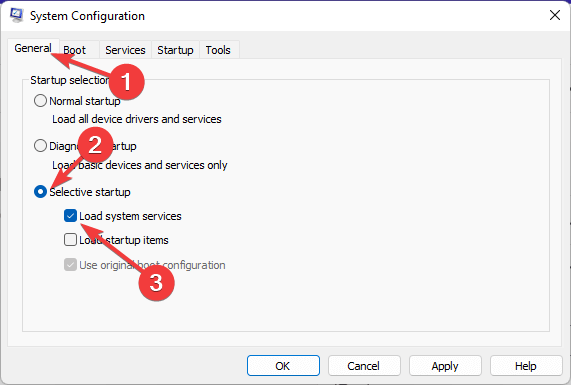
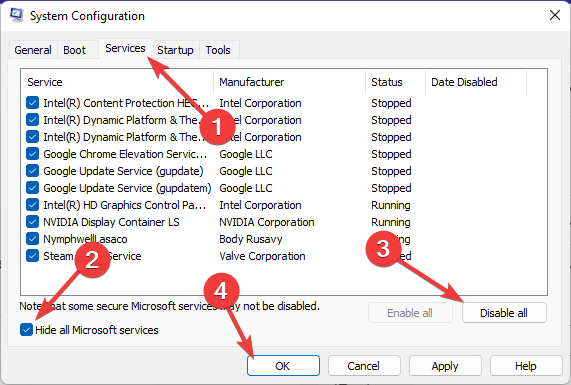
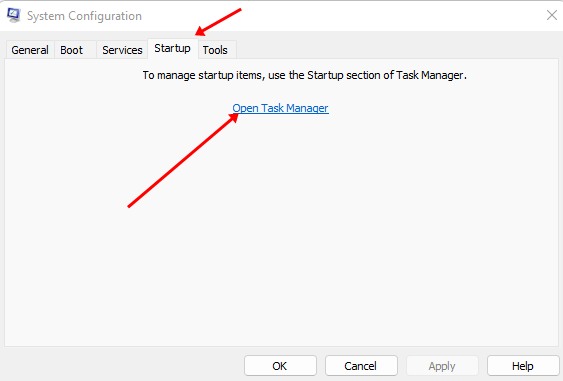
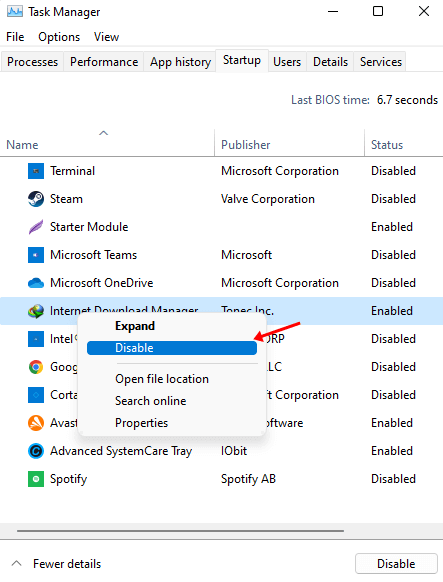
5. Perform Clean Boot
If you are still facing the problem, you should try performing a clean boot and using the installation assistant. To do so, follow the steps given below-
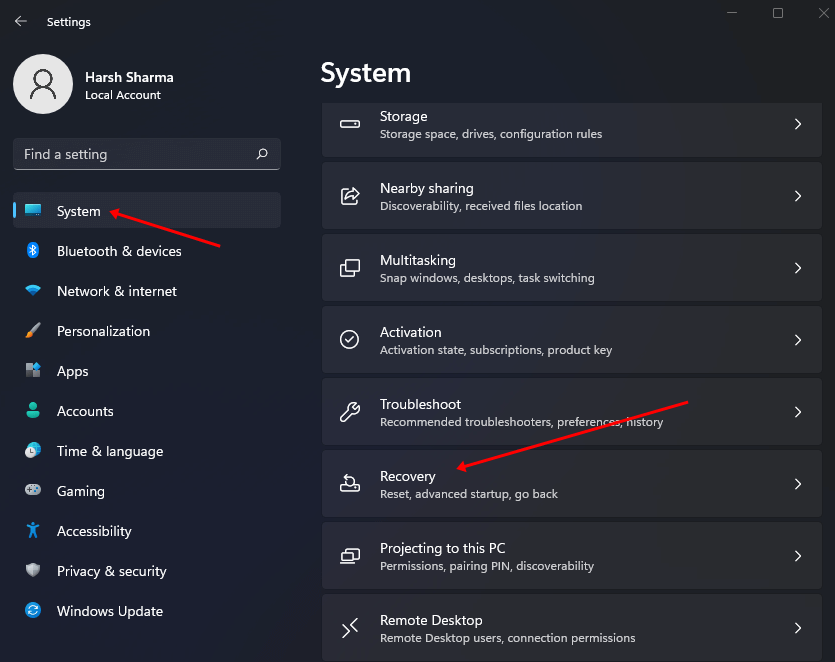
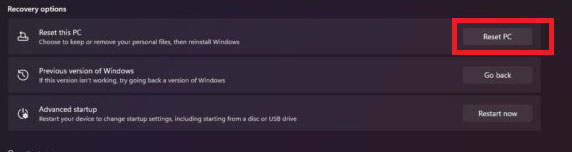
6. Reset your PC
The last troubleshooting method to fix the 0xc1900101 error in Windows 11 is to reset Windows. This particular method should be followed if none of the above methods work. You will need a backup to your files to continue with these steps. The steps for the same are as given below-
Conclusion
These were some of the best troubleshooting methods by which users can easily fix 0xc1900101 error in Windows 11. Following troubleshooting steps like running the SFC scan, running the Windows Update troubleshooter, and clearing the storage should fix the issue. You can follow the steps mentioned in this article, and you will no longer encounter the Windows 11 error 0xc1900101.